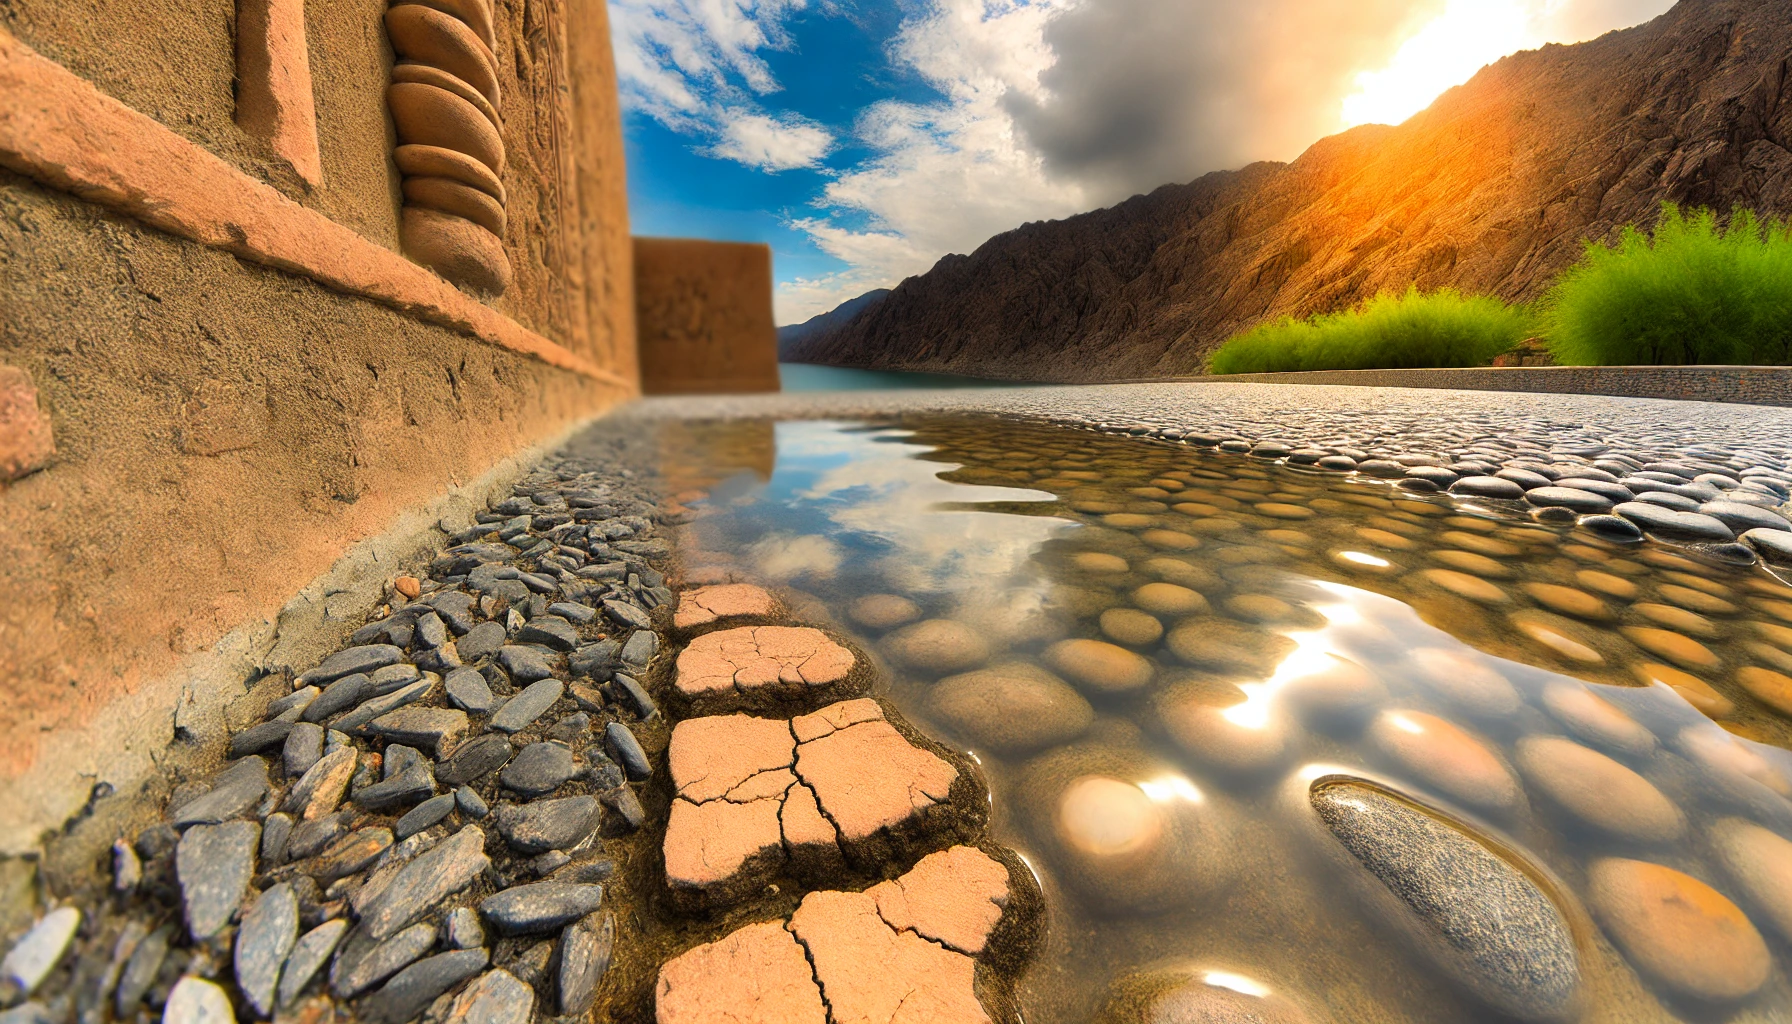
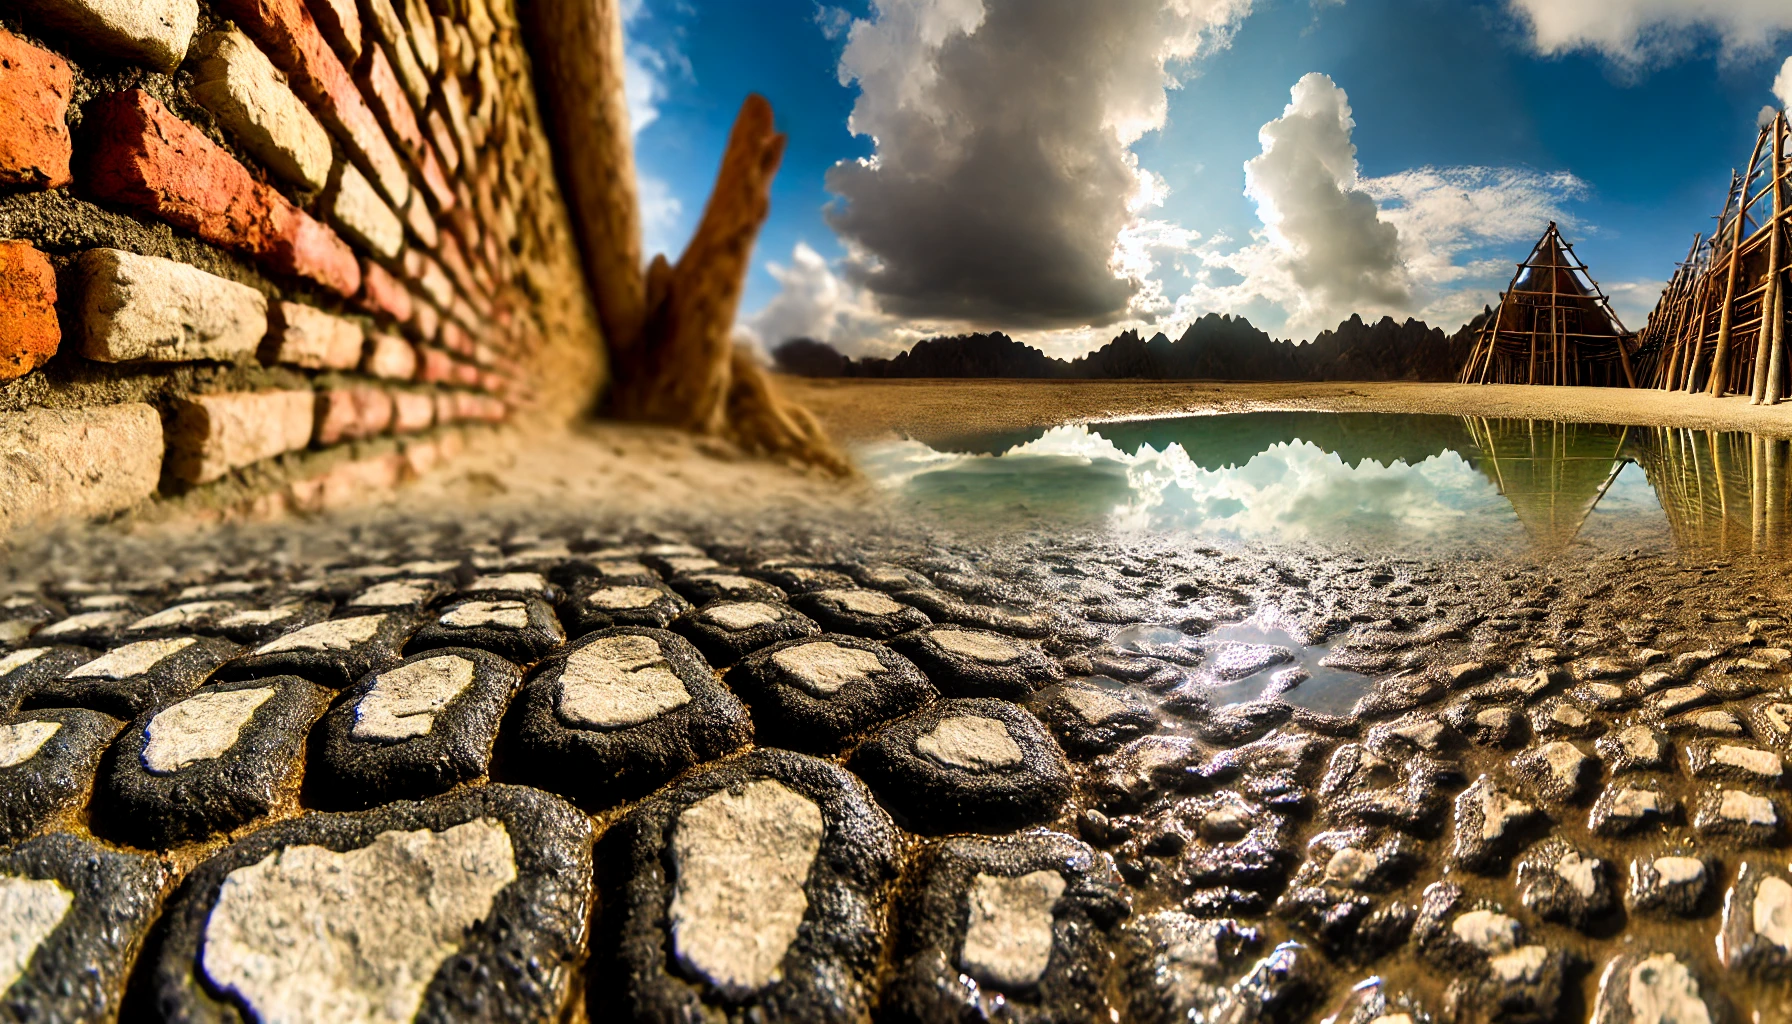
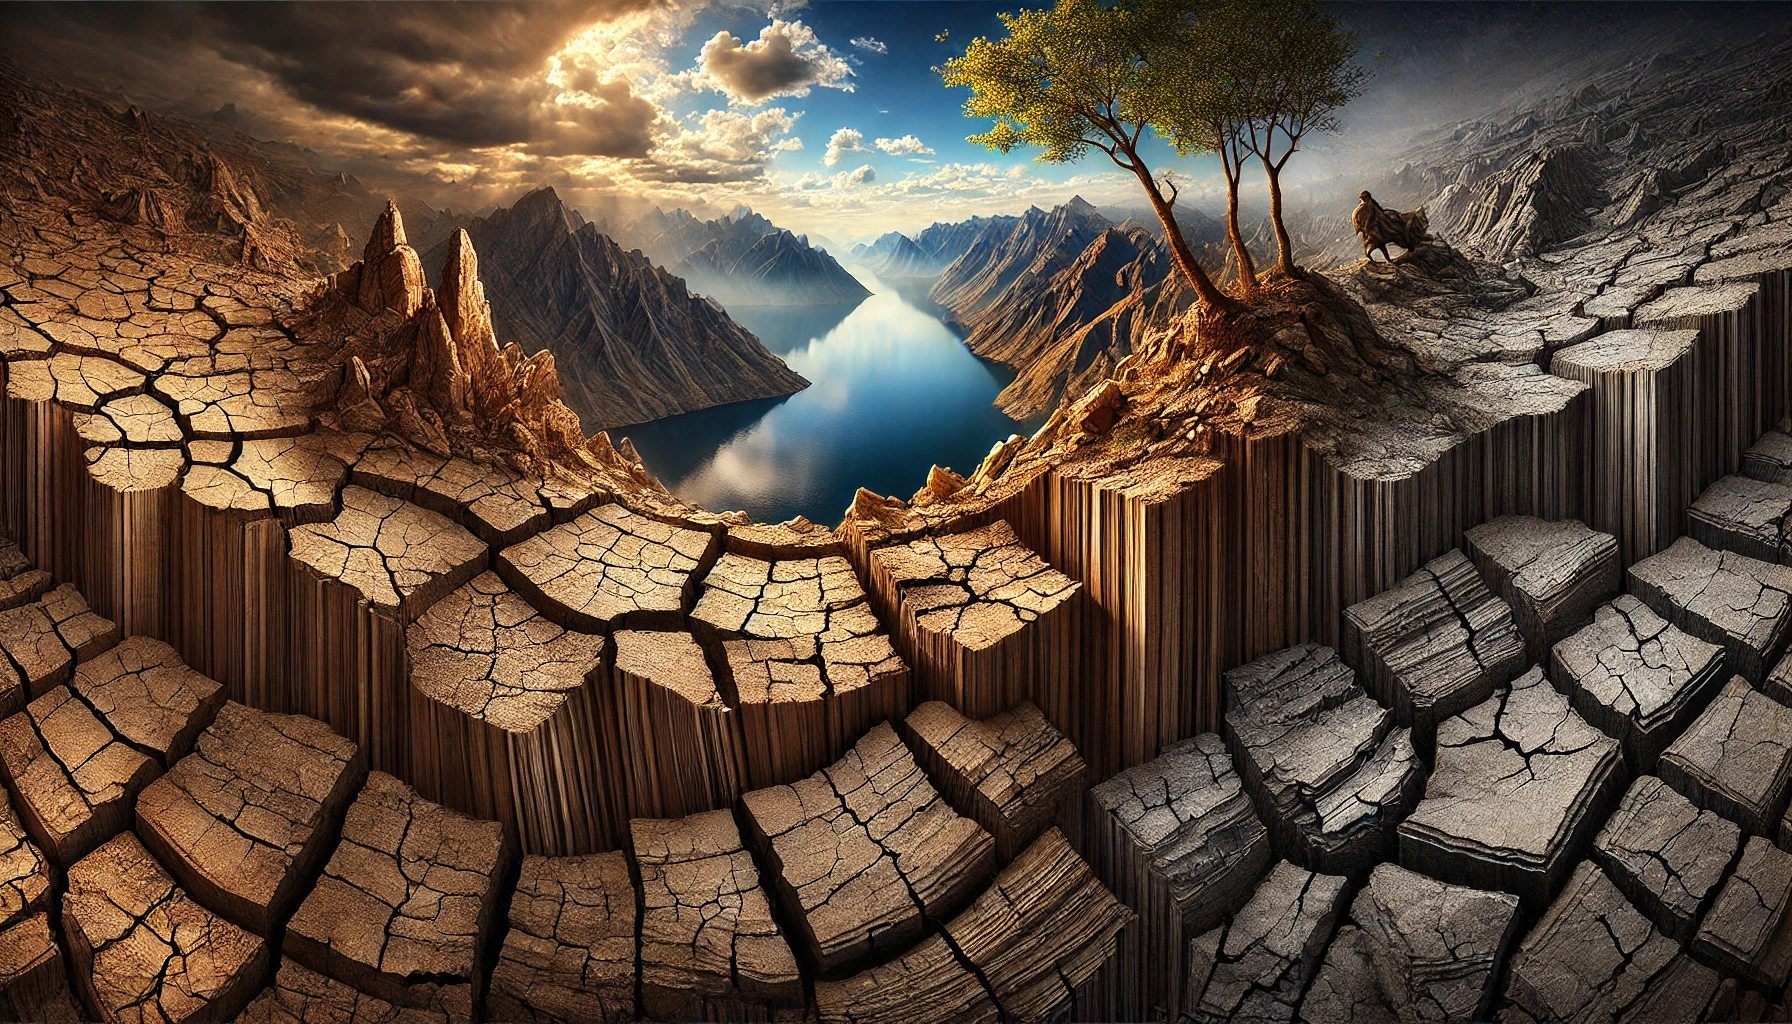
Texture in photography brings images to life. It adds depth and interest. Photography isn’t just about capturing moments. It’s about conveying feelings, moods, and stories. Texture plays a vital role in achieving this. Whether it’s the roughness of a brick wall or the softness of a feather, texture helps photographers create compelling images.
This guide will explore the importance of texture, how to identify it, and how to use it effectively. If you want your photos to stand out, understanding texture is essential. Let’s dive into the world of texture in photography and see how it can elevate your work.
Introduction To Texture
In the realm of photography, texture plays a vital role in adding depth and dimension. It transforms a flat image into a rich, engaging experience. Texture helps to convey the essence of the subject, making it feel more real and tangible. Let’s delve into the significance of texture and how it contributes to visual storytelling.
Importance Of Texture
Texture enhances the realism in photographs. It creates a sense of touch and feel. When viewers see a textured surface, they can almost feel it with their eyes. This adds an emotional layer to the image. Photographers use texture to add interest and complexity to their shots. A textured background can make a subject pop. It can also add a narrative element, telling a story about the subject’s environment.
Texture In Visual Storytelling
Texture is a powerful tool in visual storytelling. It provides context and background information without words. For instance, a rough, cracked wall can suggest age or neglect. Using texture, photographers can direct the viewer’s attention. A smooth, glossy surface can highlight a subject’s modernity or cleanliness. Meanwhile, a rugged texture might suggest adventure or hardship. Here is a simple table illustrating how different textures can convey emotions:
|
Texture |
Emotion |
|---|---|
|
Soft |
Comfort |
|
Rough |
Harshness |
|
Glossy |
Modernity |
| Cracked |
Neglect |
In summary, texture enriches photographs by adding depth, context, and emotion. It’s a key element in creating compelling visual stories.
Types Of Texture
Texture in photography is a powerful tool. It adds depth and dimension to your images. There are different types of textures that you can use to enhance your photos. Understanding these types will help you create more engaging and captivating pictures.

Tactile Texture
Tactile texture refers to the physical feel of a surface. Think about the roughness of tree bark, the smoothness of a marble countertop, or the softness of a cat’s fur. In photography, tactile texture is all about making viewers imagine how the subject would feel to touch. This kind of texture is very effective in close-up shots.
Here are some examples of tactile textures:
- Rough surfaces: Sandpaper, concrete
- Soft surfaces: Velvet, cotton
- Hard surfaces: Metal, glass
To capture tactile texture, focus on the details. Use good lighting to emphasize the surface qualities. Side lighting works best as it casts shadows that highlight the texture.
Visual Texture
Visual texture is about how a surface looks. It creates an illusion of texture, even though the surface might be smooth. Patterns and colors play a key role in visual texture. This type of texture is often used in landscape and architectural photography.
Here are some common examples of visual textures:
- Patterns: Stripes, dots, grids
- Natural elements: Leaves, water ripples
- Man-made elements: Bricks, tiles
To capture visual texture, look for repeating patterns and contrasting colors. Framing and composition are crucial. Experiment with different angles to see what works best. Both tactile and visual textures can transform your photos. They add interest and engage viewers. Mastering these textures will elevate your photography skills.
Capturing Texture
Texture in photography adds depth, interest, and emotion to your images. Capturing texture successfully requires understanding the right camera settings and lighting techniques. Let’s dive into how you can master these elements to enhance your photography skills.
Camera Settings
Using the right camera settings is essential for capturing texture. Here are some key aspects to consider:
- Aperture: A smaller aperture (higher f-stop) increases the depth of field, revealing more details.
- Shutter Speed: Use a fast shutter speed to avoid motion blur, which can obscure textures.
- ISO: Keep ISO low to reduce noise and maintain clarity. Higher ISO can introduce grain that masks texture.
Experimenting with these settings can help you find the perfect balance to capture detailed textures.
Lighting Techniques
Lighting plays a crucial role in highlighting texture. Here are some effective techniques:
- Side Lighting: Light hitting the subject from the side casts shadows and reveals texture.
- Backlighting: Light from behind the subject can create silhouettes, emphasizing texture through contrast.
- Diffused Lighting: Softens harsh shadows, providing a gentle way to highlight texture without losing detail.
Using these lighting techniques can help you bring out the texture in your photographs, making them more engaging and visually appealing.
Enhancing Texture
Enhancing texture in photography can transform an ordinary image into a stunning visual masterpiece. By emphasizing the fine details and intricate patterns, you can add depth and dimension to your photos. This section will explore various techniques to enhance texture, focusing on post-processing tips and using filters.
Post-processing Tips
Post-processing is crucial for enhancing texture. Here are some tips:
- Adjust Clarity: Use the clarity slider in your editing software. This enhances mid-tone contrast and brings out details.
- Sharpening: Apply sharpening to make edges more defined. Be careful not to overdo it, as this can create noise.
- Contrast: Increase contrast to make textures pop. This helps in distinguishing different elements in your image.
- Use the Dodge and Burn Tool: Lighten or darken specific areas to highlight textures. This adds depth and dimension.
- Texture Slider: If available, use the texture slider. This enhances fine details without affecting the entire image.
Using Filters
Filters can dramatically enhance texture. Here’s how:
- Polarizing Filter: Reduces reflections and enhances colors, making textures more visible.
- ND Filter: Allows longer exposures, which can help in capturing detailed textures in moving subjects.
- Graduated ND Filter: Balances exposure in high contrast scenes, revealing more texture in both shadows and highlights.
- Texture-specific Filters: Some camera apps and editing software offer filters designed to enhance texture. Experiment with these for unique results.
Using these techniques, you can make textures the focal point of your photographs. This not only adds visual interest but also engages your audience on a deeper level.
Texture In Different Genres
Photography is a vast and diverse field. One of its key elements is texture. Different genres of photography use texture uniquely. This section explores how texture enhances various photography styles.
Landscape Photography
Landscape photography thrives on texture. It captures the intricate details of nature. Rough terrains, smooth water surfaces, and rugged mountains all contribute to a textured image. These textures add depth and dimension. They make the landscape appear more realistic and engaging. Consider a forest scene. The rough bark of trees contrasts with the soft leaves. This contrast creates an immersive experience for the viewer. Textures in landscapes are not just visual. They evoke a sense of touch, making the image more dynamic.
|
Element |
Texture Type |
|---|---|
|
Mountain |
Rugged |
|
Water |
Smooth |
| Forest |
Rough |
Portrait Photography
Texture in portrait photography focuses on the human skin. It brings out the details of the subject’s face. Wrinkles, freckles, and scars all add character to a portrait. They tell a story about the person’s life and experiences.
Using texture in portraits can highlight emotions. A close-up of a wrinkled face can convey wisdom and age. Smooth skin can signify youth and vitality. Lighting plays a crucial role in enhancing these textures. Soft light minimizes texture, while hard light emphasizes it.
- Wrinkles: Indicate age and wisdom.
- Freckles: Add uniqueness and charm.
- Scars: Tell a story of past experiences.
Incorporating texture into portrait photography makes the images more compelling. It provides a deeper connection between the subject and the viewer.
Creating Depth With Texture
Creating depth with texture in photography can transform your images. It adds a three-dimensional feel to your photos, making them more engaging. By using various techniques, you can guide the viewer’s eye and create a sense of depth. In this section, we will explore how to create depth with texture.
Layering Techniques
Layering is a powerful tool in photography. By placing different textured elements at varying distances, you can create depth. The foreground, middle ground, and background layers each have different textures. This adds a rich, multi-dimensional feel to your images.
- Use natural elements like rocks, leaves, and trees.
- Combine different materials, such as wood, stone, and metal.
- Experiment with fabric and other textured materials.
By layering these elements, you create a visual journey. The viewer’s eye moves through the scene, exploring each layer.
Foreground And Background
The foreground and background play crucial roles in creating depth. The foreground should have sharp, detailed textures. This grabs the viewer’s attention and sets the stage for the scene. Conversely, the background can have softer, less defined textures. This allows the foreground to stand out and creates a sense of distance.
|
Element |
Texture |
Role |
|---|---|---|
|
Foreground |
Sharp, Detailed | Grabs Attention |
| Background | Soft, Undefined |
Creates Distance |
By balancing the textures in the foreground and background, you create a dynamic image. This combination can make your photos come alive.
Texture And Composition
Texture in photography adds depth and dimension to images. It makes photographs more engaging and interesting. Understanding how to use texture in composition is essential. It can transform a good photo into a great one.
Composition refers to how elements are arranged in a photograph. It guides the viewer’s eye and creates a sense of balance. By incorporating texture into composition, you can create more impactful images. Let’s explore two key aspects: the Rule of Thirds and Leading Lines.

Rule Of Thirds
The Rule of Thirds is a classic guideline in photography. Imagine your frame divided into nine equal parts by two horizontal and two vertical lines. Placing the subject along these lines or at their intersections creates balance and interest. Incorporating texture within this framework can enhance the composition. For instance, place a textured object at one of the intersections. This draws the viewer’s eye to the texture. It adds depth and makes the photo more engaging.
|
Position |
Effect |
|---|---|
|
Top left intersection |
Creates a natural focal point |
| Bottom right intersection |
Adds balance and harmony |
Leading Lines
Leading Lines are lines that guide the viewer’s eye through the photograph. These can be roads, rivers, or even shadows. They create a path for the eye to follow. Using texture in conjunction with leading lines can amplify this effect. For example, a textured pathway can lead the viewer’s eye to the main subject. This makes the image more dynamic and interesting.
- Horizontal Lines: Suggest calm and stability.
- Vertical Lines: Imply strength and growth.
- Diagonal Lines: Create a sense of movement and action.
Incorporate textured elements along these lines to enhance the overall composition. For example, a weathered wooden fence can draw the eye toward a rustic barn. The texture of the wood adds to the story of the image. By understanding and using these principles, you can create more compelling photographs. Texture and composition work together to capture the viewer’s attention.
Common Mistakes
Texture in photography can create engaging and dynamic images. But many photographers often make common mistakes. These can ruin the overall effect. Let’s explore two of these mistakes: overprocessing and ignoring lighting.
Overprocessing
Overprocessing is a frequent issue. It involves using too many filters and effects. This can make the texture look fake or unnatural. Subtlety is key. Here are some tips to avoid overprocessing:
- Use minimal filters: Only use filters that enhance the texture.
- Avoid over-sharpening: Sharpening can make textures look harsh.
- Check before and after: Compare images before and after editing.
Overprocessing can distract viewers. Focus on keeping the textures as natural as possible.
Ignoring Lighting
Lighting plays a crucial role in capturing texture. Ignoring lighting can lead to flat images. Proper lighting can enhance the texture and add depth. Here are some tips:
- Use side lighting: Side lighting can highlight textures.
- Avoid harsh light: Harsh light can wash out textures.
- Experiment with angles: Different angles can change the texture’s appearance.
Lighting can either make or break your texture photography. Pay attention to it for the best results.
Inspiration And Examples
Texture adds depth and dimension to photography. It creates a tactile experience for viewers. This section will explore how famous photographers use texture. We’ll also showcase iconic texture shots that can inspire you.
Famous Photographers
Many renowned photographers have mastered the art of texture. Their works demonstrate how texture enhances visual storytelling.
|
Photographer |
Specialty |
|---|---|
|
Ansel Adams |
Landscape Photography |
|
Edward Weston |
Black and White Photography |
| Irving Penn |
Fashion Photography |
Ansel Adams captured the rugged textures of nature. His black and white landscapes show sharp contrasts. Edward Weston focused on textures in everyday objects. His close-up shots of vegetables and shells are iconic. Irving Penn used texture to add depth to his fashion photos. The roughness of fabrics and skin contrasts with the smoothness of the environment.
Iconic Texture Shots
Iconic texture shots can be found in various genres. They inspire your photography journey.
- Sand Dunes: The ripples in the sand create mesmerizing patterns.
- Old Barns: The weathered wood tells stories of the past.
- Urban Decay: Peeling paint and rusted metal offer gritty textures.
- Nature Close-Ups: The intricate details of leaves, bark, and rocks.
Consider capturing textures in your surroundings. Look for rough surfaces, smooth objects, and patterns. Pay attention to light and shadow. They enhance texture in photographs. These examples show how textures transform ordinary subjects. They make photos engaging and dynamic.
Conclusion
Texture adds depth and interest to photos. It can transform a simple image into a captivating one. Experiment with different textures in your photography. Use various surfaces like wood, fabric, and stone. Pay attention to light and shadow. They enhance texture and create mood.
Practice regularly. Notice how the texture changes with angles and distances. Always keep an eye out for unique textures in everyday life. They can inspire your next great shot. With practice, you will naturally incorporate texture into your photography, creating visually rich and engaging images. for more tips visit our blogs.


