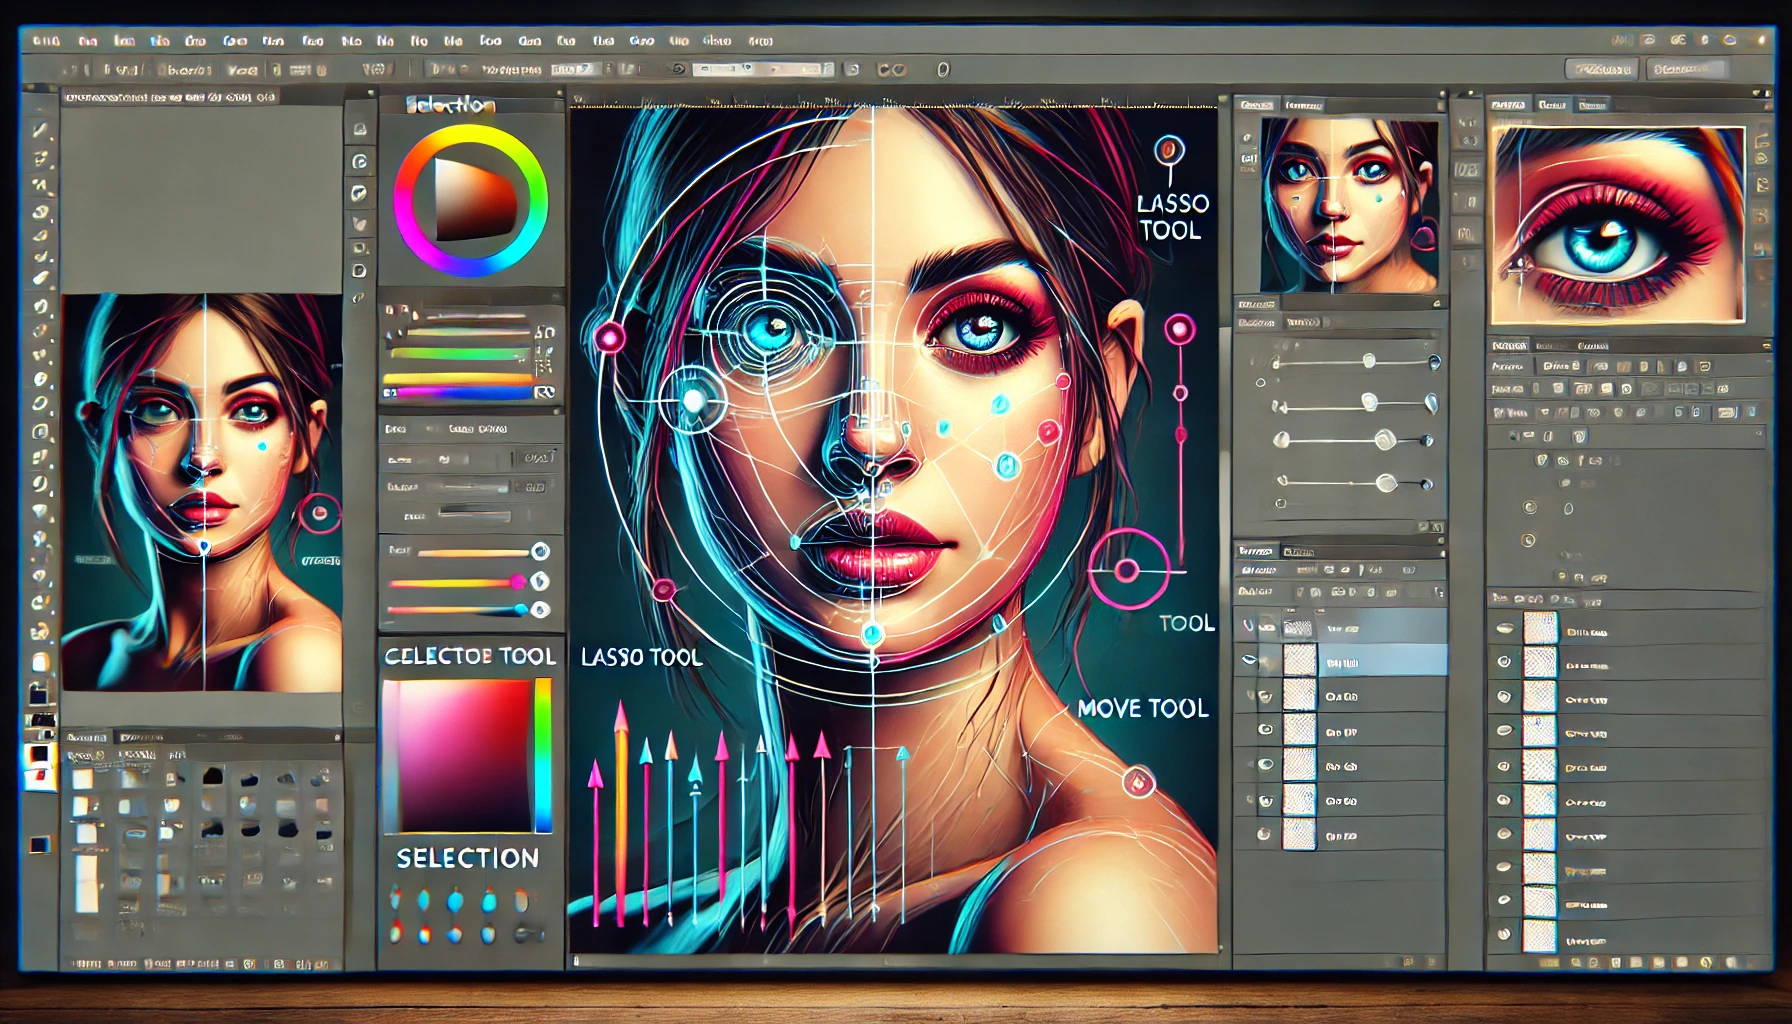
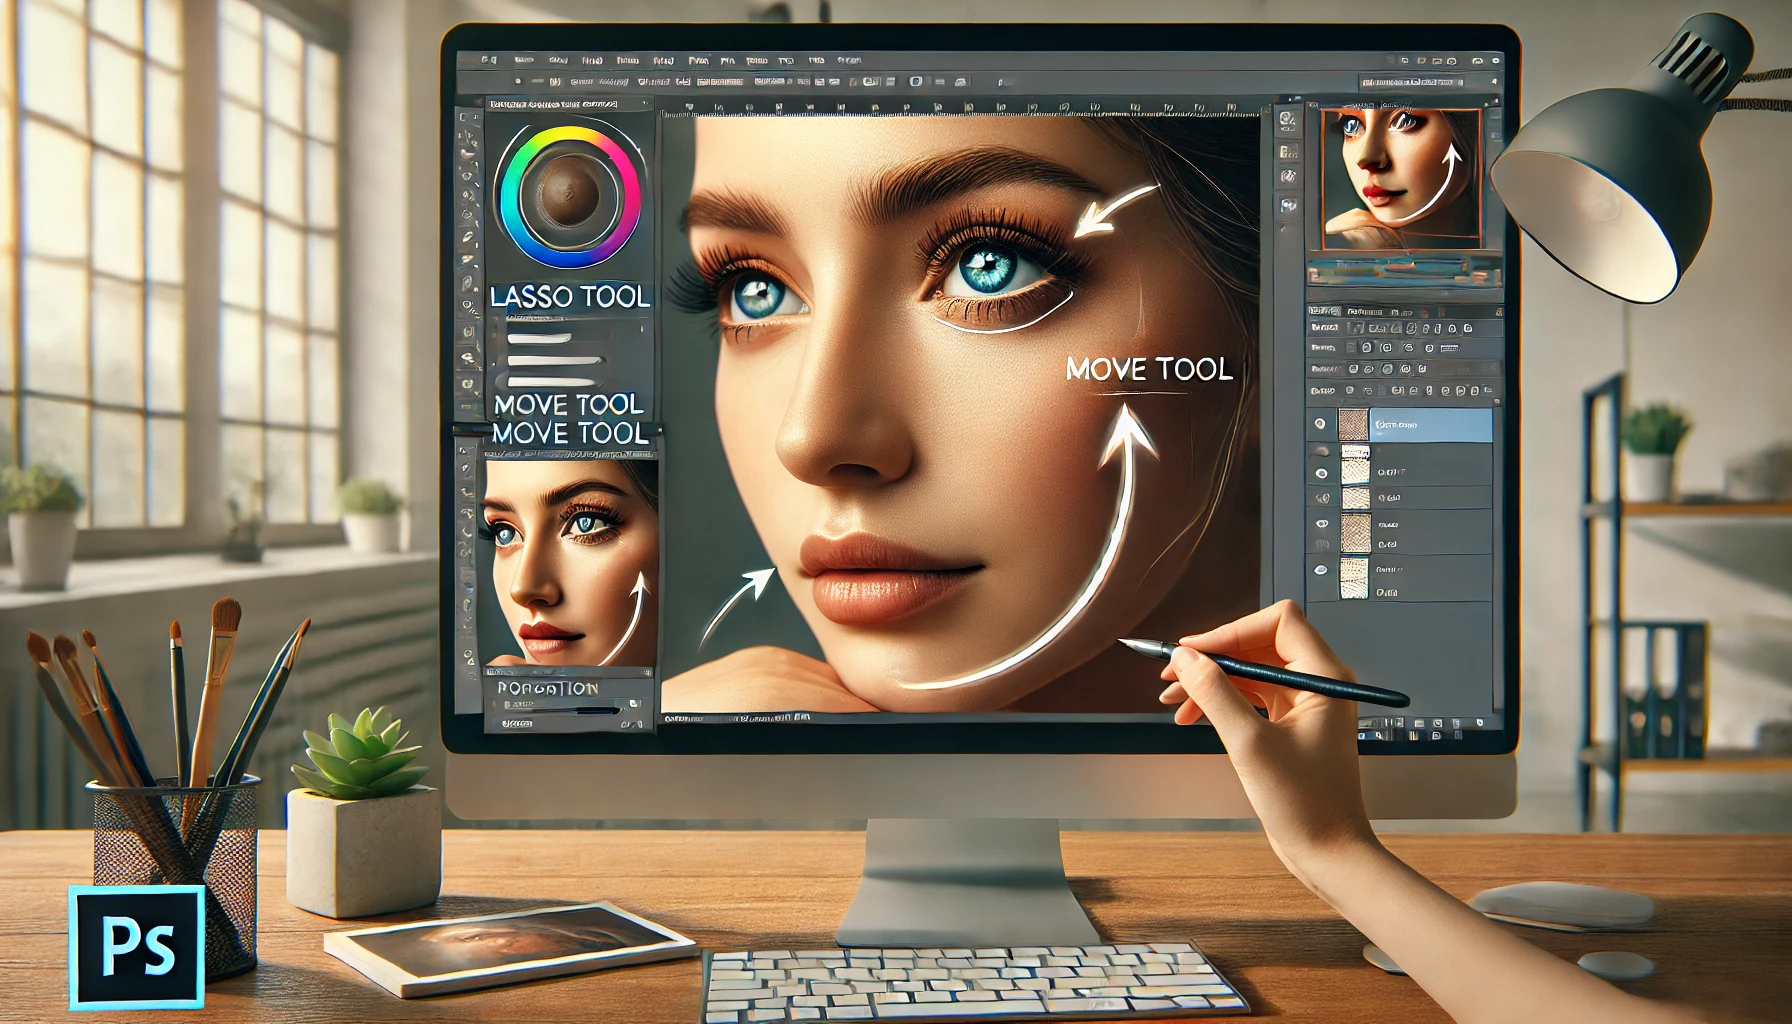
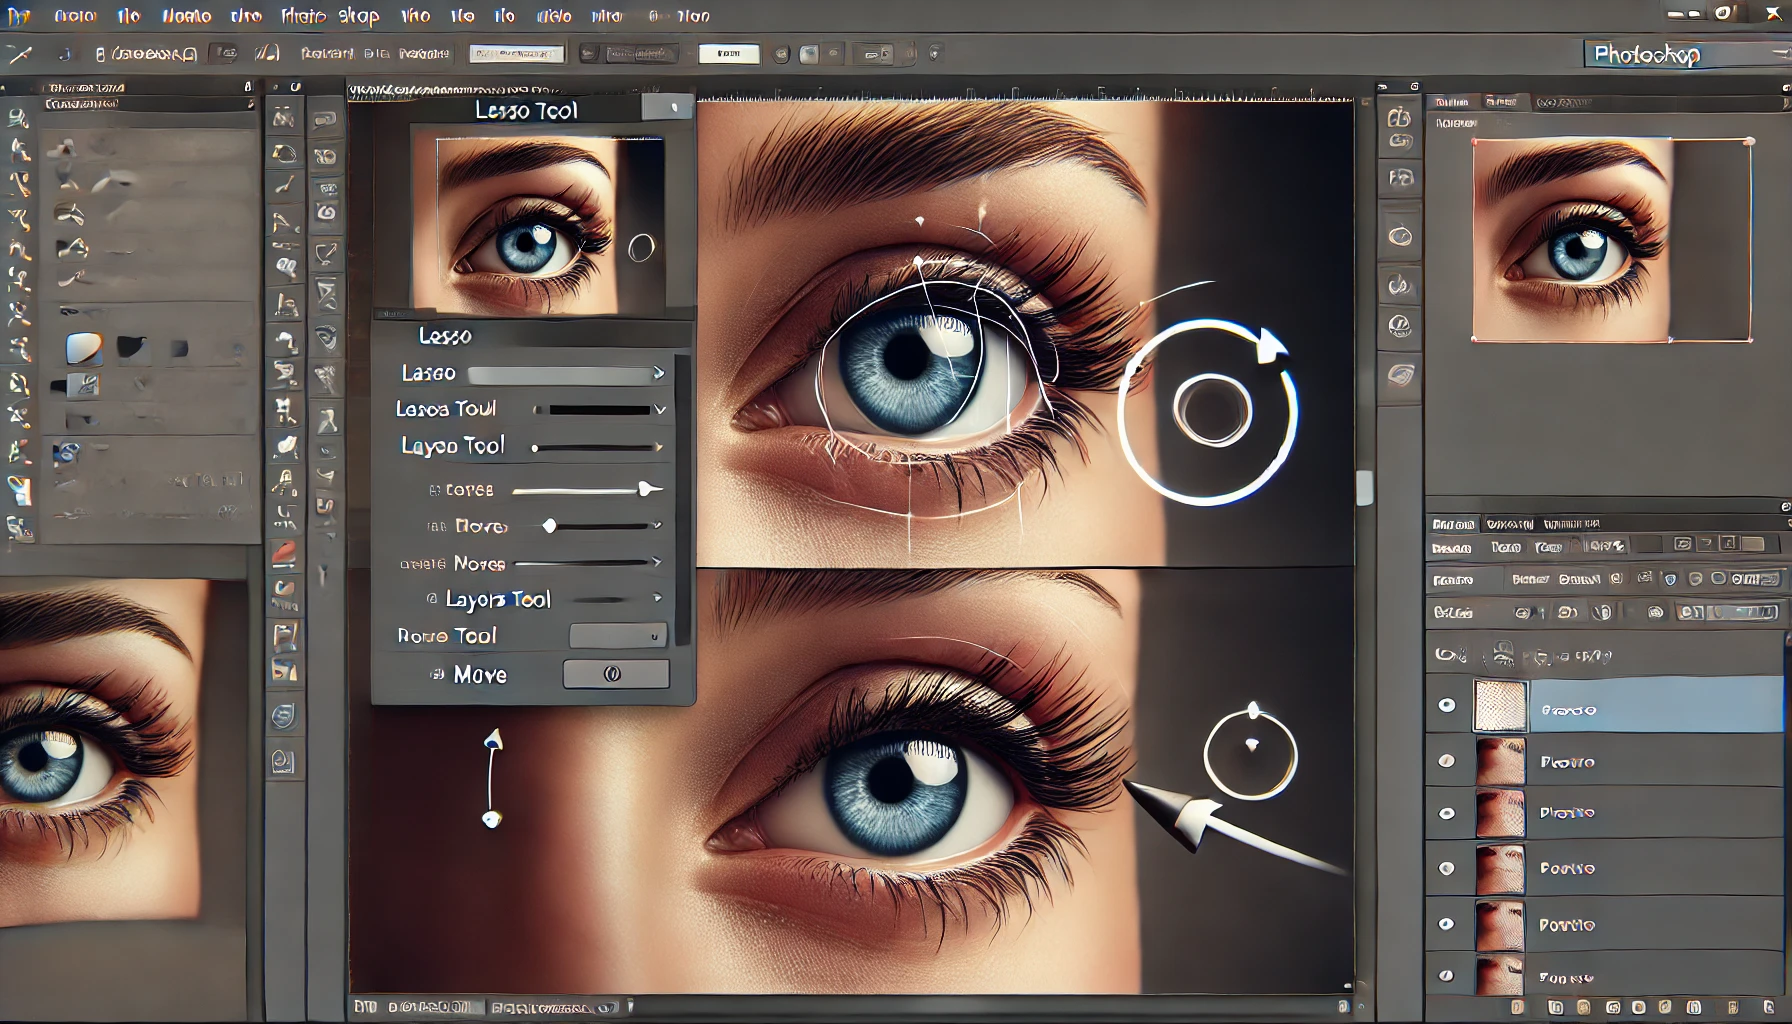
Changing eye direction in Photoshop is simpler than you might think. With a few steps, you can make the eyes look wherever you want. Whether you are a photographer, graphic designer, or just love editing photos, learning how to change eye direction can be very useful. This easy-to-follow tutorial is perfect for beginners and experts alike. In this guide, we will walk you through each step. From selecting the right tool to making the final adjustments, you will learn everything needed to achieve a natural look. By the end, you will be able to change eye direction in any photo with ease. Get ready to enhance your editing skills and make your images stand out!
Preparing The Image
Before you can change the eye direction in Photoshop, you need to prepare the image. This involves selecting the right image and then opening it in Photoshop. Proper preparation ensures better results and a smoother editing process.
Selecting The Right Image
Choosing the right image is crucial. Here are some tips:
- Ensure the eyes are clearly visible.
- High-resolution images work best.
- Avoid images with extreme shadows or highlights on the eyes.
Make sure the face is well-lit. This makes the editing process easier and more accurate.
Opening Image In Photoshop
Follow these steps to open your image in Photoshop:
- Launch Adobe Photoshop.
- Click on File in the top menu.
- Select Open from the dropdown menu.
- Browse your computer for the image file.
- Click Open to load the image.
Once the image is open, it’s ready for editing. Ensure the image is the active layer in the Layers panel. This helps you make precise edits to the eyes.
Using The Lasso Tool
Changing eye direction in Photoshop is easy with the Lasso Tool. This tool helps you select and move parts of an image. Follow this simple tutorial to learn how.
Selecting The Eyes
First, open your image in Photoshop. Select the Lasso Tool from the toolbar on the left. The Lasso Tool looks like a looped rope. Click on it to activate. With the Lasso Tool, draw around one eye. Make sure to include the entire eye in your selection. Hold down the Shift key to add to your selection. Now, draw around the second eye.
| Step | Action |
|---|---|
|
1 |
Select the Lasso Tool |
|
2 |
Draw around the first eye |
| 3 |
Hold Shift and draw around the second eye |
Refining The Selection
Next, refine your selection for better accuracy. Go to the menu and click Select, then choose Modify, and click Feather. Set the feather radius to 2-3 pixels. This softens the edges of your selection. Now, press Ctrl+J (or Command+J on Mac) to copy the selection to a new layer. You can now move the eyes without affecting the rest of the image. Use the Move Tool to adjust the position of the eyes. Press Ctrl+T (or Command+T) to transform the eyes. Rotate and position them as needed.
- Go to Select > Modify > Feather
- Set feather radius to 2-3 pixels
- Press Ctrl+J (or Command+J on Mac)
- Use the Move Tool to adjust the eyes
- Press Ctrl+T (or Command+T) to transform
With these steps, you can easily change the direction of the eyes in Photoshop. Practice to get better and more precise results.
Creating A New Layer
To change the eye direction in Photoshop, you need to create a new layer. This step allows for non-destructive editing and gives you more control over the changes. Follow these easy steps to get started.
Duplicating The Eye Selection
First, select the Marquee Tool from the toolbar. Use it to draw a selection around the eye you want to change. Make sure your selection is precise. Next, press Ctrl + J (Windows) or Cmd + J (Mac). This duplicates the selected eye onto a new layer. This new layer will be used to edit the eye direction. The duplicated eye should now appear on a separate layer in the Layers panel. You can rename this layer to “Eye” for easy identification.
Isolating The Eyes
With the eye duplicated, you need to isolate it for more detailed editing. Click on the new “Eye” layer to ensure it is active. Use the Lasso Tool to carefully trace around the eye, including the eyelid if needed. Refine your selection by going to Select > Modify > Feather. Set the feather radius to 2-3 pixels.
This softens the edges of your selection and makes blending easier. Press Ctrl + J (Windows) or Cmd + J (Mac) again to create another new layer with the isolated eye. You now have a clean, isolated eye layer ready for further adjustments. At this point, you can use the Move Tool to position the eye as needed. Use Free Transform (Ctrl + T) to rotate or scale the eye to match the desired direction.

Transforming The Eyes
The eyes are the focal point of any portrait. Changing their direction can dramatically alter the image’s impact. This tutorial will show you how to easily rotate and reposition eyes in Photoshop. Whether you are a beginner or an experienced user, these steps are simple to follow.
Rotating The Eyes
To start, select the Lasso Tool from the toolbox. Carefully trace around the eye you wish to rotate. Ensure you capture the entire eye. Next, press Ctrl + J (or Cmd + J on Mac) to copy the selection onto a new layer. With the new layer selected, go to Edit > Transform > Rotate. Use the bounding box to rotate the eye to the desired angle. Press Enter to apply the rotation. If necessary, repeat these steps for the other eye.
Positioning The Eyes
Sometimes rotating the eyes is not enough. You may need to reposition them. To do this, select the Move Tool from the toolbox. Click and drag the eye layer to its new position. Use the arrow keys for more precise adjustments. Each press moves the eye by one pixel. If you need finer control, zoom in on the image. This helps place the eyes exactly where you want them.
By following these easy steps, you can transform the direction of eyes in any portrait. Practice these techniques to enhance your photo editing skills.
Blending The Edges
Once you have repositioned the eyes in Photoshop, the next crucial step is blending the edges. This makes the change look natural, and proper blending ensures that the edited eyes do not appear out of place. Let’s explore the tools and techniques for achieving a seamless blend.
Using The Eraser Tool
The Eraser Tool is a simple yet powerful tool for blending. Follow these steps:
- Select the Eraser Tool from the toolbar.
- Choose a soft round brush to create smooth transitions.
- Adjust the brush size to fit the area you need to blend.
- Gently erase the hard edges around the eyes.
Soft edges help in merging the new eye position with the surrounding skin. Be patient and erase gradually to achieve the best results.
Adjusting The Opacity
Another effective technique for blending is adjusting the opacity. This helps to gradually blend the edges. Here’s how:
- Select the layer with the repositioned eyes.
- Locate the opacity slider in the layers panel.
- Reduce the opacity to around 50% to see the underlying layer.
- Carefully adjust until the edges blend smoothly.
Lowering the opacity makes the transition less noticeable. This creates a more natural look. Once satisfied, you can merge the layers for a final touch.
Final Touches
After successfully changing the eye direction in Photoshop, it’s time to add the final touches. These steps ensure your image looks polished and realistic. By adjusting colors and adding shadows, you can achieve a professional finish.
Adjusting Colors
To create a natural look, adjust the colors of the eyes and surrounding areas. Follow these steps:
- Select the eye layer in the Layers panel.
- Go to Image > Adjustments > Hue/Saturation.
- Move the sliders to match the eye color with the original.
- Click OK to apply the changes.
Fine-tuning the colors ensures consistency and realism.
Adding Shadows
Shadows make the new eye direction blend seamlessly. Follow these steps to add shadows:
- Select the Burn tool from the toolbar.
- Set the range to Midtones and the exposure to 10-15%.
- Gently brush around the eye areas to create subtle shadows.
Adding shadows enhances depth and dimension, making the eyes look more natural.
| Step | Action |
|---|---|
|
1 |
Select the eye layer |
|
2 |
Adjust Hue/Saturation |
| 3 |
Match eye color |
| 4 |
Use the Burn tool |
| 5 |
Create shadows |
By following these steps, your edited image will look natural and well-integrated. Keep practicing to master these techniques.
Saving The Image
Once you have successfully changed the eye direction in Photoshop, it is crucial to save your work properly. This ensures your edits are preserved in high quality and accessible for future use. Follow these steps to save your image effectively.
Choosing The Right Format
Choosing the right format is essential for maintaining the quality of your image. Below are some common formats and their uses:
- JPEG: Best for web use and smaller file sizes. Some quality loss.
- PNG: Great for web use and transparency. Larger file sizes but no quality loss.
- TIFF: Ideal for high-quality prints. Very large file sizes, no quality loss.
- PSD: Photoshop’s native format. Keeps all layers and settings intact.
| Format | Best Use | Quality | File Size |
|---|---|---|---|
|
JPEG |
Web | Medium | Small |
|
PNG |
Web with Transparency | High | Medium |
| TIFF | High |
Large |
|
| PSD | Editing | Very High |
Very Large |
Exporting The File
To export your image in Photoshop, follow these steps:
- Click on File in the top menu.
- Select Export and then Export As.
- Choose your desired format from the dropdown menu.
- Adjust the settings as needed (e.g., quality, size).
- Click Export and choose the save location on your computer.
Ensure that the export settings match your intended use. For web use, prioritize smaller file sizes and faster loading times. For printing, prioritize high quality and detail. Now, your edited image is saved and ready for use. Whether it’s for a website, social media, or print, you’ve got it covered.

Common Mistakes
Changing eye direction in Photoshop can be tricky. People often make mistakes that result in unrealistic images. Understanding these common mistakes can help you achieve a natural look.
Avoiding Unnatural Look
One common mistake is creating an unnatural look. This often happens when the eyes are not aligned properly. If the eyes look cross-eyed or misaligned, the final image will appear strange. To avoid this, ensure the eyes are aligned symmetrically. Use the ruler tool to draw guidelines. Align the pupils along these lines. This helps keep the eyes looking natural.
Checking Proportions
Another mistake is ignoring the proportions. People often change eye size or shape while changing direction. This can make the eyes look odd. Keep the original eye size and shape intact. Use the transform tool to rotate or move the eyes without changing their proportions. This ensures a more realistic result. Here is a quick checklist to avoid these common mistakes:
- Align eyes symmetrically
- Use the ruler tool for guidelines
- Maintain original eye size and shape
- Use the transform tool correctly
By following these tips, you can make sure your edited images look natural and realistic.
Conclusion
Changing eye direction in Photoshop is simple and fun. Follow the steps outlined above. Practice makes perfect, so keep experimenting. Use the tools and techniques mentioned. Create realistic and eye-catching edits. Enhance your photos with ease. Share your work and impress others. Enjoy the creative process and happy editing!


