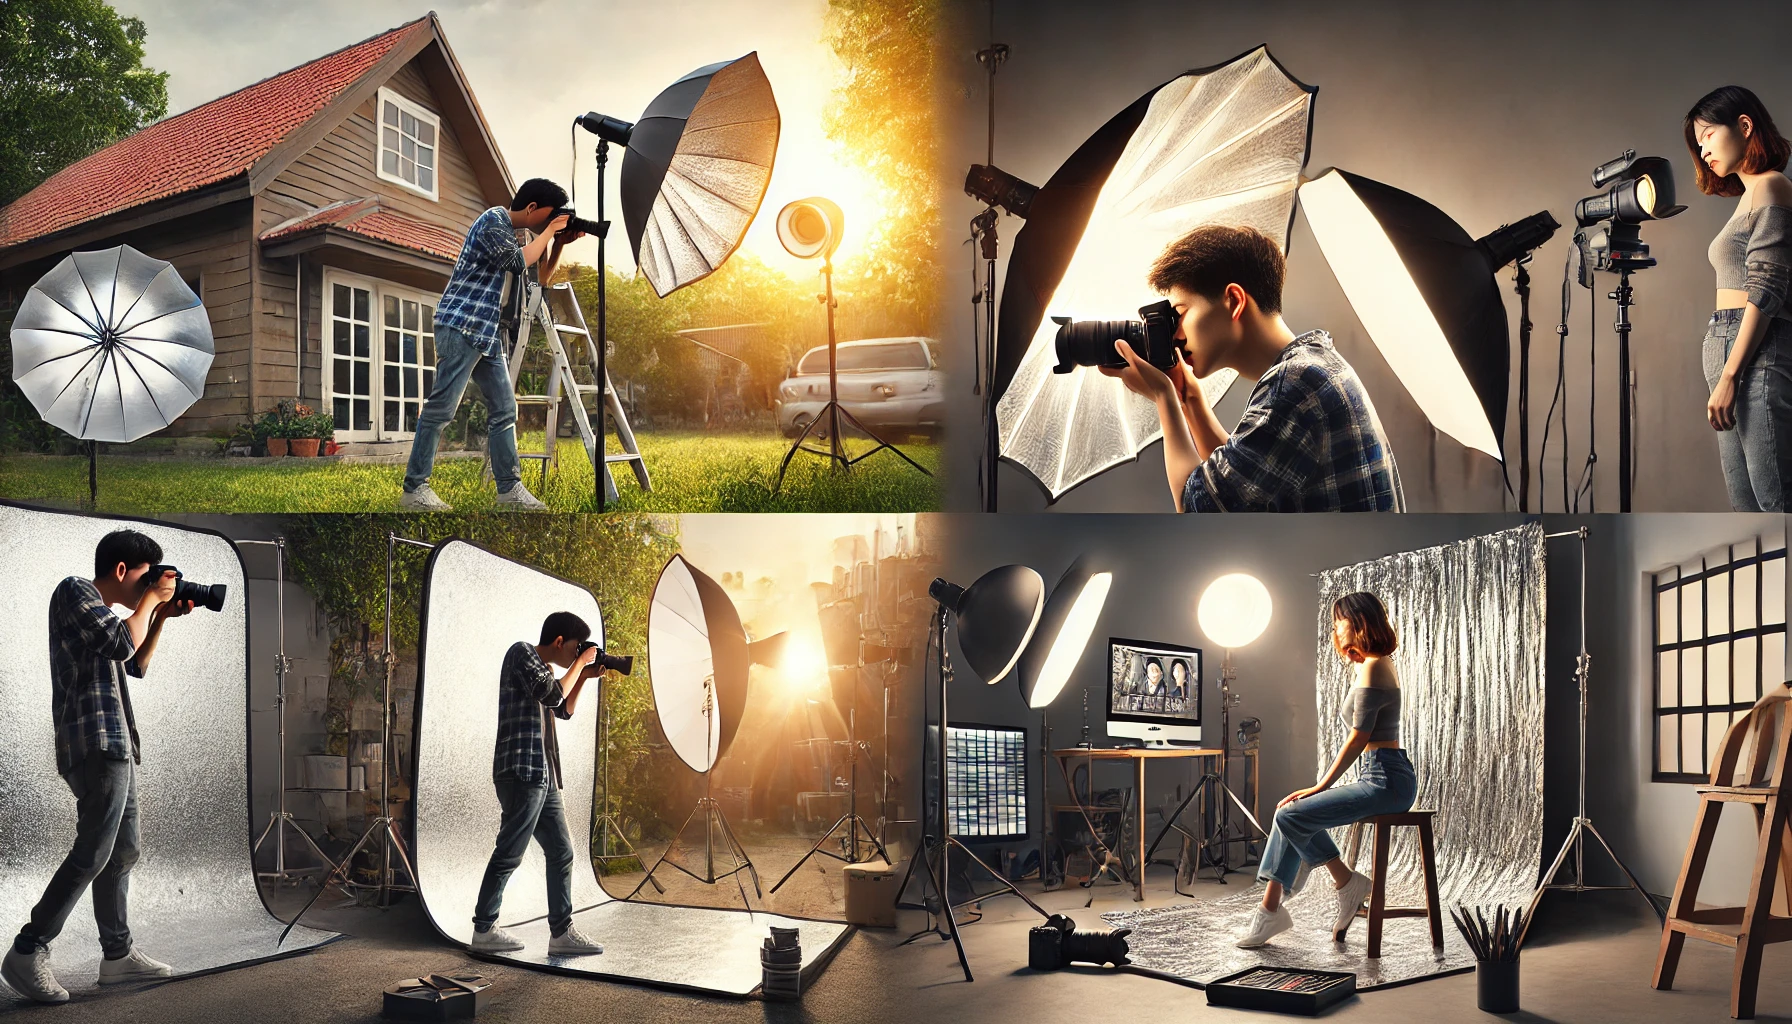
A reflector is a simple yet powerful tool in photography. It helps to control light and create stunning images. In this complete guide, you will learn how to use a reflector effectively. Reflectors can make a huge difference in your photos by bouncing light where it’s needed. They come in various shapes, sizes, and colors, each serving a different purpose.
Whether you are a beginner or a seasoned photographer, mastering the use of a reflector can elevate your photography skills. This guide covers everything from choosing the right reflector to practical tips on using it in different lighting situations. Get ready to enhance your photos with the magic of reflectors!
Introduction To Reflectors
Reflectors are an essential tool for photographers. They help control and manipulate light. This tool is simple yet powerful. Photographers use it to enhance the quality of their images. Reflectors can make a big difference in your photos. Whether you are a beginner or a pro, learning to use a reflector can improve your photography.
What Is A Reflector?
A reflector is a tool used in photography. It reflects light to a subject or scene. Reflectors come in various shapes and sizes. They can be circular, rectangular, or even collapsible. They are usually made of reflective fabric or material. The most common colors are white, silver, gold, and black. Each color serves a different purpose.
| Color | Effect |
|---|---|
| White | Softens light |
| Silver | Brightens light |
| Gold | Warms up light |
| Black | Blocks light |
Importance In Photography
Using a reflector can greatly improve your photos. It helps fill in shadows. This makes your subject look well-lit and balanced. Reflectors are especially useful in portrait photography. They can help highlight facial features. This adds depth and dimension to your images.
Reflectors are also portable. You can easily carry them to different locations. This makes them ideal for outdoor shoots. They are an affordable solution. You do not need expensive lighting equipment. A simple reflector can do wonders for your photos.
In summary, reflectors are a must-have tool for photographers. They are versatile and easy to use. Understanding how to use a reflector can enhance the quality of your images. So, get a reflector and start experimenting with light today!
Types Of Reflectors
Choosing the right reflector can change your photo’s lighting. Reflectors come in different colors and materials. Each type serves a unique purpose. Below, we’ll explore the various types of reflectors used in photography.
Silver Reflectors
Silver reflectors provide a bright, high-contrast light. They are ideal for low-light situations. Silver reflectors are great for outdoor shoots. They help highlight facial features and details. They are perfect for adding some drama to your photos.
Gold Reflectors
Gold reflectors produce a warm, golden light. They are excellent for outdoor portraits. Gold reflectors create a sunset-like glow. They are perfect for skin tones. These reflectors are great for evening or morning shoots.
White Reflectors
White reflectors offer a soft, natural light. They are versatile and can be used in any setting. White reflectors provide even lighting without changing color tones. They are great for close-up shots and portraits. They help reduce harsh shadows.
Black Reflectors
Black reflectors do not reflect light. Instead, they absorb it. They are used to create shadows. Black reflectors help add depth and dimension. They are great for controlling the light in your photos. Use them to create a more dramatic effect.
Choosing The Right Reflector
Choosing the right reflector is crucial for achieving the desired effect in photography. Reflectors are tools that bounce light onto your subject. They can help you control lighting and create stunning images. This section will guide you on how to choose the perfect reflector based on various factors.
Lighting Conditions
The type of reflector you choose depends on the lighting conditions. For bright sunlight, a white or silver reflector works best. They provide a soft, natural light. In low light, a gold reflector adds warmth to the scene. A black reflector, on the other hand, reduces unwanted light and shadows.
Subject And Scene
Consider your subject and the scene before choosing a reflector. For portraits, a soft, white reflector is ideal. It creates gentle light and reduces harsh shadows on faces. For outdoor scenes, a silver reflector enhances the natural light. It brightens the subject without altering the color.
Desired Effect
The desired effect also influences your choice of reflector. If you want a warm and sunny look, use a gold reflector. For a clean and crisp appearance, a silver reflector is the best choice. If you need to create dramatic shadows, opt for a black reflector. Each type serves a unique purpose and can dramatically change the mood of your photo.
| Reflector Type | Best Use |
|---|---|
| White | Soft, natural light |
| Silver | Bright, clean light |
| Gold | Warm, sunny light |
| Black | Reducing light, creating shadows |
Using Reflectors Outdoors
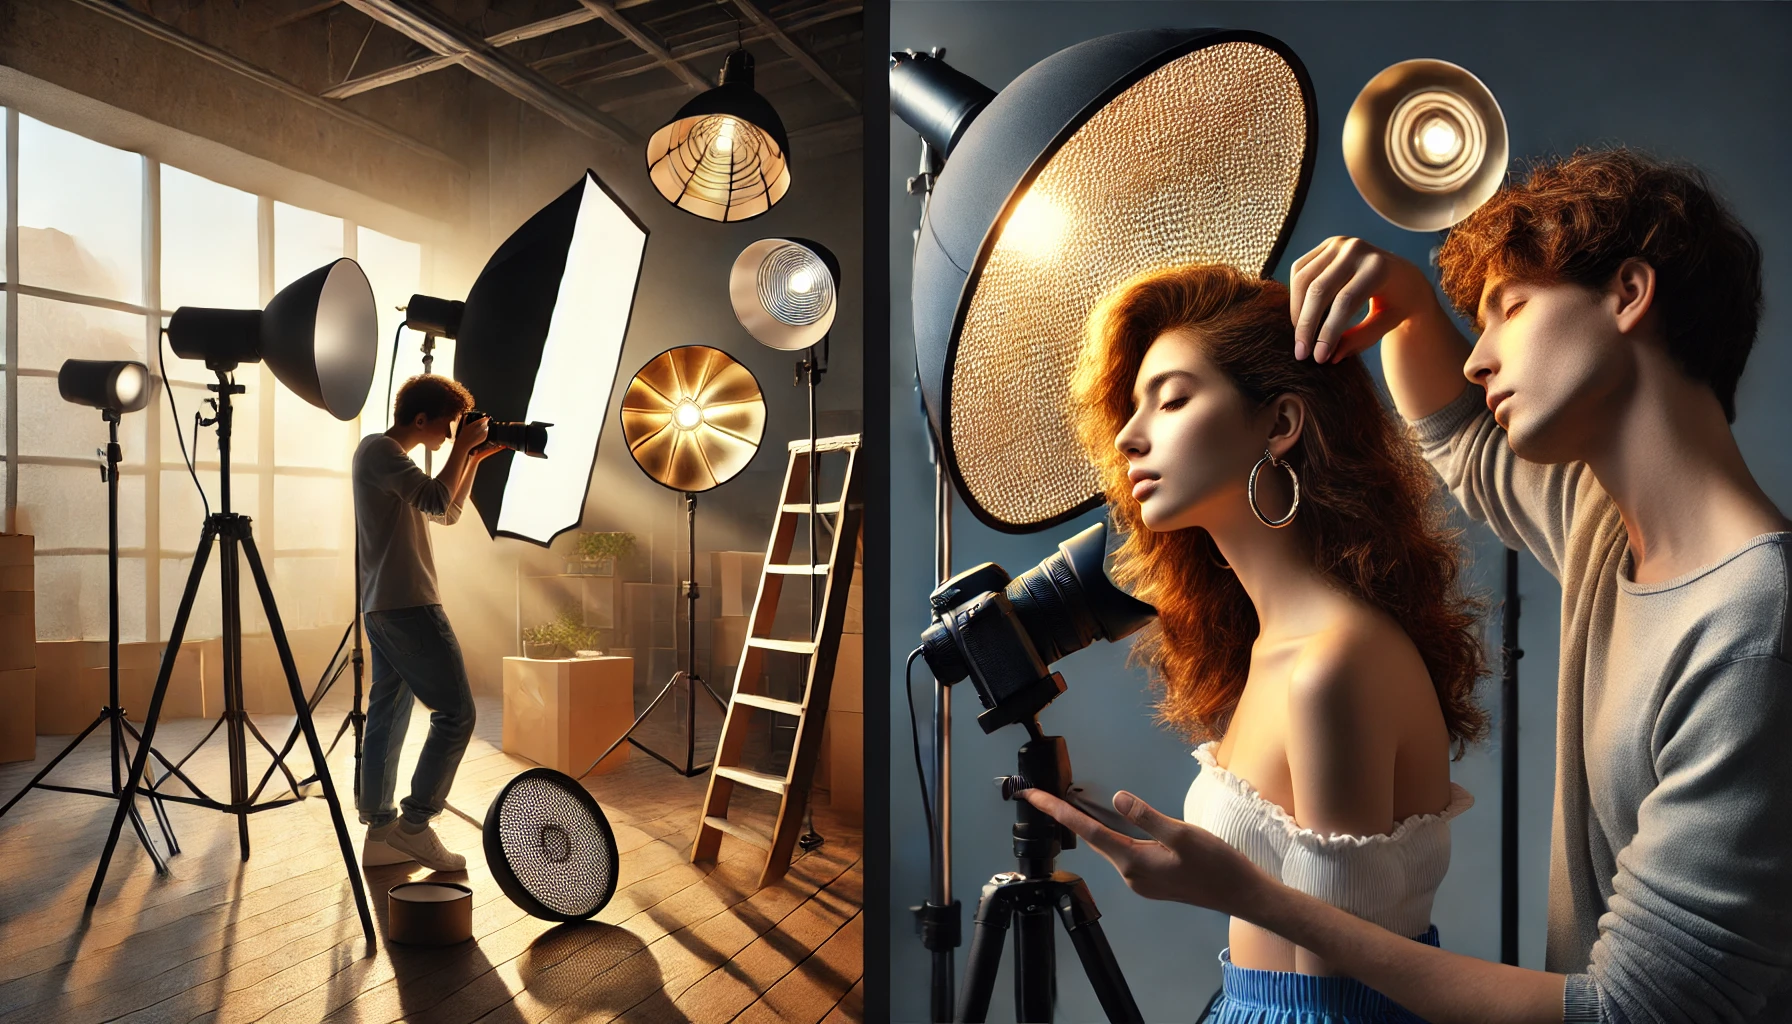
Using a reflector outdoors can significantly improve your photography. Reflectors are simple tools that can make a big difference. They help in enhancing natural light, controlling shadows, and providing directional lighting. Below are some key ways to use reflectors outdoors effectively.
Natural Light Enhancement
Natural light is the best light source available. Reflectors can enhance this light, making your photos look stunning. By using a reflector, you can direct more light onto your subject. This makes the subject appear brighter and more vibrant. Here are some tips for enhancing natural light with reflectors:
- Position the reflector opposite the light source.
- Use a white or silver reflector for a softer light.
- Adjust the angle to control the intensity of the light.
Controlling Shadows
Shadows can either ruin or improve your photo. Controlling them is key to great photography. Reflectors are excellent tools for managing shadows. They help in filling in shadows and creating a balanced look. Follow these steps to control shadows with reflectors:
- Identify the shadow areas on your subject.
- Place the reflector at an angle to bounce light into the shadows.
- Move the reflector closer or farther to adjust the shadow intensity.
Directional Lighting
Directional lighting adds depth and dimension to your photos. Reflectors help in creating directional light without additional equipment. This is especially useful in outdoor settings. To achieve directional lighting, consider these methods:
- Position the reflector to one side of the subject.
- Use a gold reflector for a warm, golden light.
- Experiment with angles to find the best light direction.
| Reflector Color | Effect |
|---|---|
| White | Soft, natural light |
| Silver | Bright, sharp light |
| Gold | Warm, golden light |
Using Reflectors Indoors
Using a reflector indoors can enhance your photography. Reflectors can manipulate light to create stunning effects. This section will guide you through using reflectors indoors. We will cover three main techniques: artificial light augmentation, bouncing light, and creating soft light.
Artificial Light Augmentation
Artificial light sources can create harsh shadows and uneven lighting. Reflectors can help balance this. Place a reflector opposite the light source. This will bounce light back onto your subject. The result is more even lighting. To use a reflector indoors:
- Set up your artificial light source.
- Position the reflector opposite the light.
- Adjust the angle to direct the light where needed.
This technique works well with continuous lights, like LEDs or softboxes. Experiment with different reflector colors. Silver reflectors create bright, cool light. Gold reflectors add warmth.
Bouncing Light
Bouncing light can fill in shadows and highlight details. Reflectors are perfect for this. Place a reflector near a window or light source. Angle it to bounce light back onto your subject. This can create natural, soft lighting. Steps to bounce light indoors:
- Find a light source, like a window.
- Position the reflector to catch the light.
- Adjust the angle to direct the light onto your subject.
This technique is great for portrait photography. It can make skin tones look more natural. Use white reflectors for soft, diffused light. Silver reflectors will add a bit more brightness.
Creating Soft Light
Soft light is flattering for portraits. Reflectors can help create this effect. Use a large, white reflector. Position it close to your subject. This will diffuse the light, creating a soft glow.
To create soft light indoors:
- Choose a large, white reflector.
- Position it close to your subject.
- Adjust the angle for the desired effect.
This technique can soften harsh shadows. It is ideal for close-up shots. Experiment with different distances and angles. This will help you find the perfect light for your subject.
Reflector Placement Techniques
Using a reflector in photography can dramatically enhance your images. Reflectors help control and manipulate light to achieve the desired effect. Proper reflector placement can make a significant difference. Let’s explore different reflector placement techniques.
Side Lighting
Side lighting with a reflector creates depth and dimension. Place the reflector to the side of your subject. This technique highlights one side of the subject while casting shadows on the other.
- Place the reflector opposite the main light source.
- Adjust the angle to control the intensity of the light.
| Reflector Position | Effect |
|---|---|
| 45° angle | Soft, natural light |
| 90° angle | More pronounced shadows |
Front Lighting
Front lighting is ideal for reducing shadows and achieving even illumination. Position the reflector in front of your subject. This technique brightens the subject’s face and reduces harsh shadows.
- Place the reflector directly opposite the main light source.
- Adjust the distance to control light softness.
Tip: Use a white reflector for soft light and a silver reflector for more intense light.
Back Lighting
Back lighting with a reflector creates a rim or halo effect. Position the reflector behind your subject. This technique adds a beautiful glow around the subject.
- Place the reflector behind and slightly above the subject.
- Angle it to reflect light onto the back of the subject.
Back lighting can make your subject stand out from the background. It adds a dramatic and professional touch to portraits.
Combining Reflectors With Other Gear
Reflectors are versatile tools in photography. They can be used alone or combined with other gear for improved results. Here, we will explore how to combine reflectors with diffusers, flash, and continuous lighting.
Using With Diffusers
Combining reflectors with diffusers can soften harsh light. This technique creates a balanced lighting setup.
- Place the diffuser between the light source and your subject.
- Position the reflector to bounce light back onto the subject.
- Adjust the angle of the reflector for the desired effect.
This method helps to reduce shadows and create even light distribution.
Using With Flash
Using a reflector with a flash can enhance your subject’s appearance. It adds a natural fill light.
- Set up your flash at a 45-degree angle to the subject.
- Hold the reflector opposite the flash.
- Adjust the flash intensity for optimal exposure.
This setup helps to fill in shadows and adds depth to your photos.
Using With Continuous Lighting
Combining a reflector with continuous lighting offers control over light direction and intensity.
- Place continuous lights at desired angles around your subject.
- Use the reflector to bounce light into shadow areas.
- Experiment with different reflector placements for varied effects.
This technique provides consistent lighting and reduces the need for post-processing.
Common Mistakes To Avoid
Using a reflector in photography can greatly enhance your images. But, many photographers make common mistakes that can ruin the shot. Here are some mistakes to avoid.
Overexposure
One common mistake is overexposing the subject. Reflectors can bounce a lot of light. This can lead to bright spots on the subject’s face or body. To avoid this, use the reflector carefully. Adjust its angle and distance. Check your camera settings. Reduce the exposure if needed.
Unwanted Shadows
Reflectors can also create unwanted shadows. These shadows can be harsh and distracting. This happens when the reflector is too close or at the wrong angle. To fix this, move the reflector around. Find the best position that removes shadows. Use a soft reflector for a gentle effect.
Improper Placement
Incorrect placement of the reflector is another issue. Placing it too high or low can cause uneven lighting. For the best results, place the reflector at eye level with the subject. Adjust its position until the light looks natural. Remember, practice makes perfect. Experiment with different placements to find what works best.
Practical Tips And Tricks
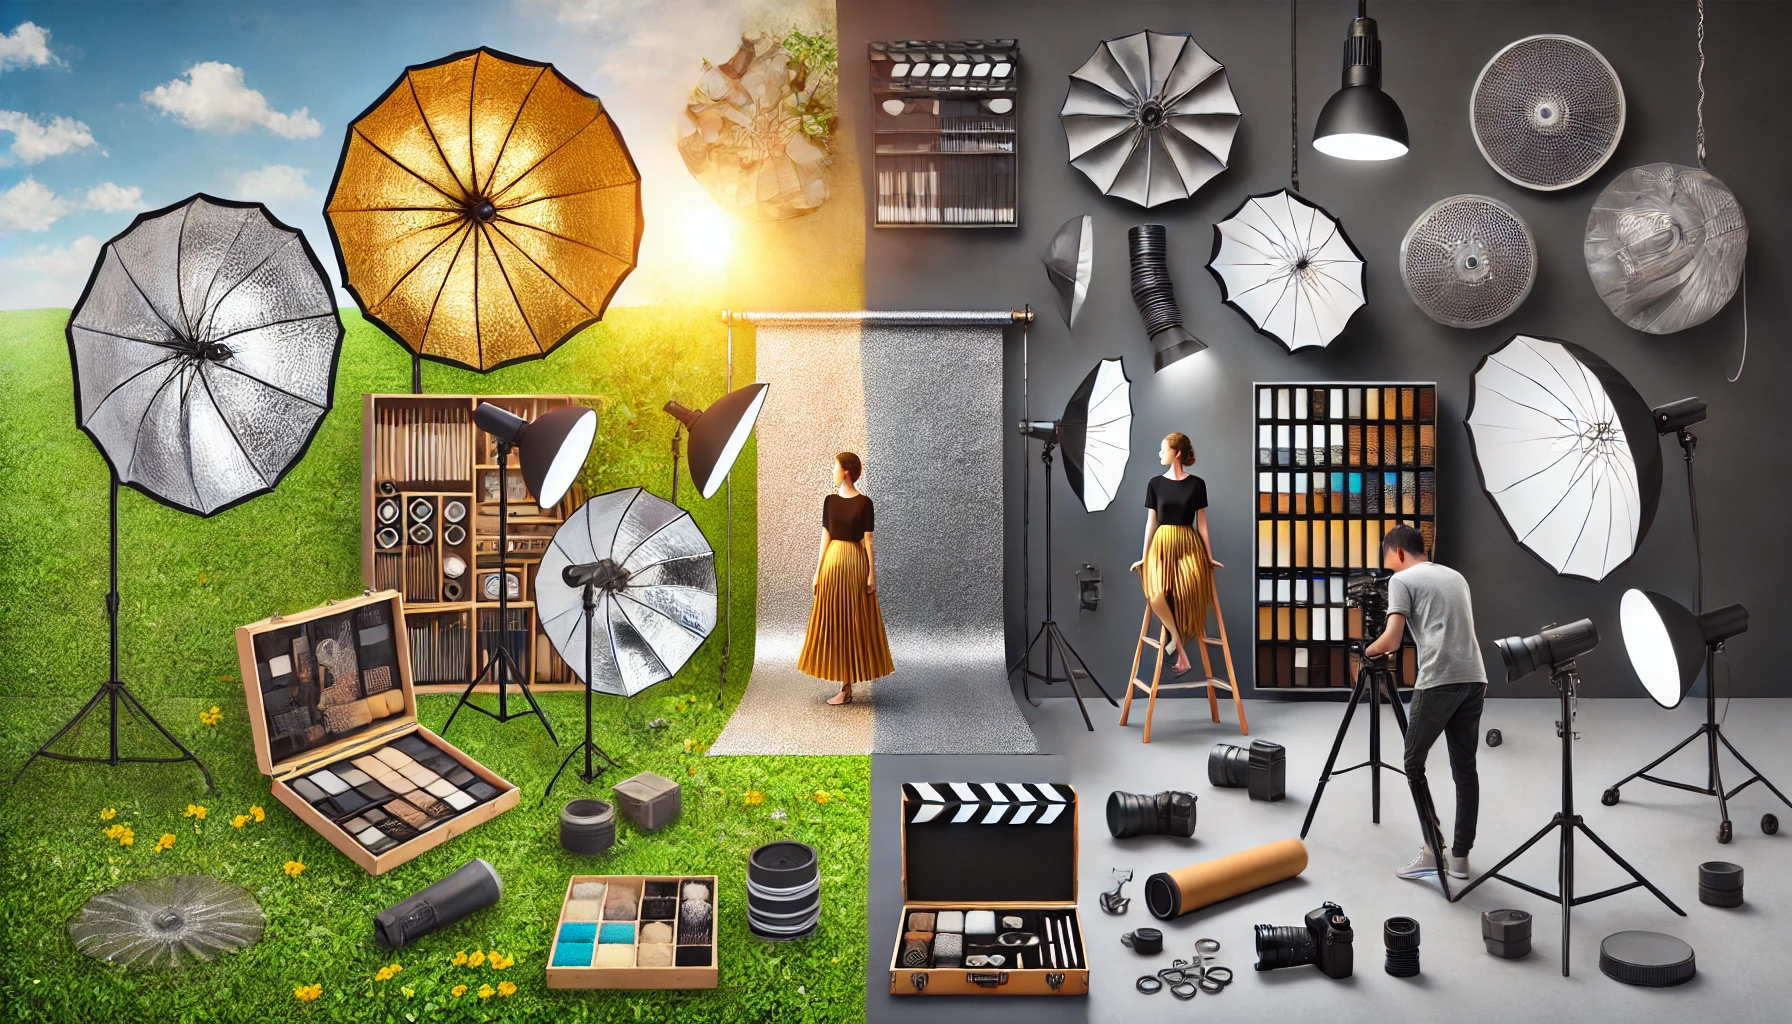
Using a reflector can greatly enhance your photography. It helps to fill in shadows, add highlights, and create a more balanced lighting setup. Here are some practical tips and tricks to get the most out of your reflector.
Diy Reflectors
Creating a DIY reflector is cost-effective and easy. You can use everyday items to make one.
- Aluminum Foil: Wrap a piece of cardboard with aluminum foil. The shiny side will reflect light effectively.
- White Foam Board: This is great for soft, natural light. You can find these at any craft store.
- Emergency Blankets: These are inexpensive and portable. They provide a large reflective surface.
DIY reflectors are a great way to experiment with lighting without spending much money.
Portable Reflectors
Portable reflectors are convenient for photographers on the go. They come in various sizes and colors.
| Color | Effect |
|---|---|
| Silver | Increases contrast and highlights. Ideal for cloudy days. |
| Gold | Adds warmth. Perfect for sunset or sunrise shots. |
| White | Softens light. Good for general use. |
| Black | Blocks light. Useful for reducing unwanted reflections. |
Always choose a reflector size based on your subject. Larger subjects need larger reflectors.
Working With Assistants
An assistant can make your job easier. They can hold the reflector in the right position.
- Communication: Clearly instruct your assistant. Explain where to hold the reflector.
- Positioning: Move the reflector around to find the best angle. The assistant should be flexible and responsive.
- Feedback: Give immediate feedback. Let your assistant know if adjustments are needed.
Having an assistant allows you to focus more on your subject and composition.
Conclusion
Reflectors are essential tools for photographers. They help control lighting. Using them can enhance your photos significantly. Practice using different angles. Experiment with various reflector colors. Observe how light interacts with your subject. This will improve your skills. Keep practicing and learning. Soon, you will see noticeable results. Reflectors are simple but powerful. They can make a big difference in your photography. So, grab a reflector and start experimenting. Happy shooting!


